
如何使用Python进行运动检测?
在本文中,我们将专门研究使用笔记本电脑或计算机的网络摄像头进行运动检测,并创建代码脚本在计算机上运行,并查看实时示例。如果你想了解更多关于Python的相关内容,可以阅读以下这些文章:
Tabpy ——Tableau和Python合体了!
动动小手,几行python代码让你的邮箱自动化又智能!
Python中的营销组合建模简介——哪些广告支出真正推动了你的销售?
Python为什么这么火?如何利用Python进行数据分析?
概述
Python编程语言提供了多个开源库,因此使用Python进行运动检测很容易。运动检测有许多实际应用。例如,它可用于在线考试的监考或商店、银行等安全目的。
介绍
Python编程语言是一种开源库丰富的语言,它为用户提供了大量的应用程序并拥有大量用户。因此,它在市场上增长得很快。Python语言的优点不胜枚举,因为它的语法简单,易于查找错误,并且调试过程快速,使其对用户更加友好。
为什么要学习Python?图示:
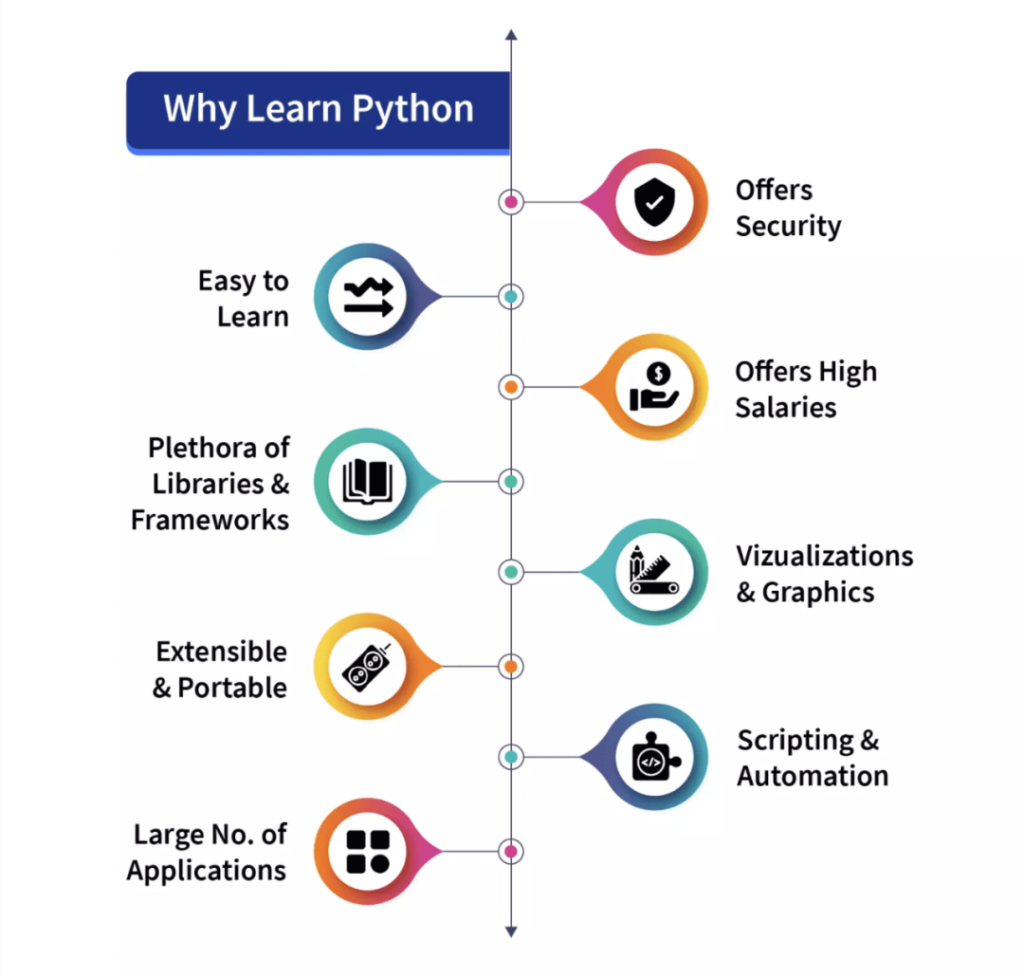
Python设计于1991年,由Python软件基金会开发,已发布了许多版本。其中,Python2和Python3是最著名的。目前主要使用Python3,它的用户也在快速增长。在这个项目或脚本中,我们将使用Python3。
什么是运动检测?
根据物理学,当一个物体静止不动且没有速度时,它被认为是静止的,而恰恰相反,当一个物体没有完全静止并且在某个方向上有某种运动或速度时,无论左右、前后或上下,都认为它都是运动的。在本文中,我们将检测它的状态。
在现实生活中,运动检测有许多实现或用途,可以证明其价值,例如使用网络摄像头监考在线考试(我们将在本文中实现),作为保安等。
在本文中,我们将尝试实现一个脚本,通过该脚本我们将使用台式机或笔记本电脑的网络摄像头检测运动。我们的想法是我们将拍摄两帧视频,并尝试找出它们之间的差异。如果两帧之间存在某种差异,很明显,相机前面的对象存在某种运动,从而产生了差异。
重要的库
在开始代码实现之前,让我们看一下通过代码使用的一些模块或库,这些模块或库用于网络摄像头的运动检测。库在Python中扮演着重要的角色,让我们看看需要什么:
- OpenCV
- Pandas
上述两个库,OpenCV和Pandas都是纯粹基于Python的、免费的开源库,我们将在Python3版本的Python编程语言中使用它们。
1. OpenCV
OpenCV是一个开源库,可以与编程语言(如C++、Python等)一起使用。它用于处理图像和视频,通过使用或与Python的Pandas/NumPy库集成,我们可以充分利用OpenCV的功能。
2. Pandas
正如我们所讨论的,“Pandas”是Python的一个开源库,提供了丰富的内置数据分析工具,因此在数据科学和数据分析领域得到了广泛应用。Pandas为我们提供了数据结构形式的数据帧,这有助于将表格数据处理和存储到二维数据结构中。上面讨论的两个模块都不是Python内置的,我们必须在使用前先安装它们。除此之外,我们将在项目中使用另外两个模块。
- Python日期时间模块
- Python时间模块
这两个模块都是Python内置的,不需要安装。这些模块分别处理与日期和时间相关的功能。
代码实现
到目前为止,我们已经看到了将在代码中使用的库,视频只是许多静态图像或帧的组合,所有这些帧组合起来创建成了一个视频,让我们从这一点开始实现。
导入所需的库
在本节中,我们将导入所有库(Pandas)。然后从DateTime 模块中导入cv2、time 和DateTime函数。
# Importing the Pandas libraries
import pandas as panda

# Importing the OpenCV libraries
import cv2

# Importing the time module
import time

# Importing the datetime function of the datetime module
from datetime import datetime
初始化数据变量
在本节中,我们初始化了一些变量,这些变量会在代码中进一步使用。将初始状态定义为“None”,在另一个变量motionTrackList中存储跟踪的运动。
我们定义了一个列表“motionTime”来存储发现运动的时间并使用Pandas初始化dataFrame列表。
# Assigning our initial state in the form of variable initialState as None for initial frames
initialState = None

# List of all the tracks when there is any detected of motion in the frames
motionTrackList= [ None, None ]

# A new list ‘time’ for storing the time when movement detected
motionTime = []

# Initialising DataFrame variable ‘dataFrame’ using Pandas libraries panda with Initial and Final column
dataFrame = panda.DataFrame(columns = ["Initial", "Final"])
主要的捕获过程
在本节中,我们将执行主要的运动检测步骤。让我们逐步理解它们:
- 首先,开始使用cv2模块捕获视频并将其存储在video变量中。
- 然后使用while循环来捕获视频中的每一帧。
- 使用read()方法读取每一帧并将它们存储到相应的变量中。
- 定义一个变量motion并将其初始化为零。
- 使用cv2函数cvtColor和GaussianBlur创建另外两个变量grayImage和grayFrame 来查找运动的变化。
- 如果initialState是None,那么将当前的grayFrame指定为initialState,否则将使用 ‘continue’ 关键字停止下一个进程。
- 在下一节中,计算了在当前迭代中创建的初始帧和灰度帧之间的差异。
- 然后将使用cv2阈值和扩张函数突出显示初始帧和当前帧之间的变化。
- 从当前图像或帧的移动对象中找到轮廓,并使用矩形函数在其周围创建绿色边界来指示移动对象。
- 在此之后,将通过添加当前检测到的元素来附加motionTrackList。
- 使用imshow方法显示了所有的帧,如灰度和原始帧等。
- 此外,使用cv2模块的witkey()方法创建了一个键来结束进程,可以使用“m”键来结束我们的进程。
# starting the webCam to capture the video using cv2 module
video = cv2.VideoCapture(0)

# using infinite loop to capture the frames from the video
while True:

   # Reading each image or frame from the video using read function

   check, cur_frame = video.read()

   # Defining 'motion' variable equal to zero as initial frame
   var_motion = 0

   # From colour images creating a gray frame
   gray_image = cv2.cvtColor(cur_frame, cv2.COLOR_BGR2GRAY)

   # To find the changes creating a GaussianBlur from the gray scale image
   gray_frame = cv2.GaussianBlur(gray_image, (21, 21), 0)

   # For the first iteration checking the condition
   # we will assign grayFrame to initalState if is none
   if initialState is None:
       initialState = gray_frame
       continue

   # Calculation of difference between static or initial and gray frame we created
   differ_frame = cv2.absdiff(initialState, gray_frame)

   # the change between static or initial background and current gray frame are highlighted

   thresh_frame = cv2.threshold(differ_frame, 30, 255, cv2.THRESH_BINARY)[1]
   thresh_frame = cv2.dilate(thresh_frame, None, iterations = 2)

   # For the moving object in the frame finding the coutours
   cont,_ = cv2.findContours(thresh_frame.copy(),
                      cv2.RETR_EXTERNAL, cv2.CHAIN_APPROX_SIMPLE)

   for cur in cont:
       if cv2.contourArea(cur) < 10000:
           continue
       var_motion = 1
       (cur_x, cur_y,cur_w, cur_h) = cv2.boundingRect(cur)

       # To create a rectangle of green color around the moving object
       cv2.rectangle(cur_frame, (cur_x, cur_y), (cur_x + cur_w, cur_y + cur_h), (0, 255, 0), 3)

  # from the frame adding the motion status
   motionTrackList.append(var_motion)
   motionTrackList = motionTrackList[-2:]

   # Adding the Start time of the motion
   if motionTrackList[-1] == 1 and motionTrackList[-2] == 0:
       motionTime.append(datetime.now())

  # Adding the End time of the motion
   if motionTrackList[-1] == 0 and motionTrackList[-2] == 1:
       motionTime.append(datetime.now())

  # In the gray scale displaying the captured image
   cv2.imshow("The image captured in the Gray Frame is shown below: ", gray_frame)

   # To display the difference between inital static frame and the current frame
   cv2.imshow("Difference between the  inital static frame and the current frame: ", differ_frame)

   # To display on the frame screen the black and white images from the video
   cv2.imshow("Threshold Frame created from the PC or Laptop Webcam is: ", thresh_frame)

   # Through the colour frame displaying the contour of the object
   cv2.imshow("From the PC or Laptop webcam, this is one example of the Colour Frame:", cur_frame)

   # Creating a key to wait
   wait_key = cv2.waitKey(1)

   # With the help of the 'm' key ending the whole process of our system
   if wait_key == ord('m'):
       # adding the motion variable value to motiontime list when something is moving on the screen
       if var_motion == 1:
           motionTime.append(datetime.now())
       break
完成代码
关闭循环后,将dataFrame和motionTime列表中的数据添加到CSV文件中,最后关闭视频。
# At last we are adding the time of motion or var_motion inside the data frame
for a in range(0, len(motionTime), 2):

   dataFrame = dataFrame.append({"Initial" : time[a], "Final" : motionTime[a + 1]}, ignore_index = True)

# To record all the movements, creating a CSV file
dataFrame.to_csv("EachMovement.csv")

# Releasing the video
video.release()

# Now, Closing or destroying all the open windows with the help of openCV
cv2.destroyAllWindows()
流程总结
我们已经创建了代码,现在再次简要讨论该过程。
首先,使用设备的网络摄像头拍摄视频,然后将输入视频的初始帧作为参考,并不时检查下一帧。如果发现与第一个不同的帧,则存在运动。这将在绿色矩形中标记。
组合代码
我们在不同的部分看到了代码。现在结合起来:
# Importing the Pandas libraries
import pandas as panda

# Importing the OpenCV libraries
import cv2

# Importing the time module
import time

# Importing the datetime function of the datetime module
from datetime import datetime

# Assigning our initial state in the form of variable initialState as None for initial frames
initialState = None

# List of all the tracks when there is any detected of motion in the frames
motionTrackList= [ None, None ]

# A new list 'time' for storing the time when movement detected
motionTime = []

# Initialising DataFrame variable 'dataFrame' using Pandas libraries panda with Initial and Final column
dataFrame = panda.DataFrame(columns = ["Initial", "Final"])

# starting the webCam to capture the video using cv2 module
video = cv2.VideoCapture(0)

# using infinite loop to capture the frames from the video
while True:

   # Reading each image or frame from the video using read function
   check, cur_frame = video.read()

   # Defining 'motion' variable equal to zero as initial frame
   var_motion = 0

   # From colour images creating a gray frame
   gray_image = cv2.cvtColor(cur_frame, cv2.COLOR_BGR2GRAY)

   # To find the changes creating a GaussianBlur from the gray scale image
   gray_frame = cv2.GaussianBlur(gray_image, (21, 21), 0)

   # For the first iteration checking the condition
   # we will assign grayFrame to initalState if is none
   if initialState is None:
       initialState = gray_frame
       continue

   # Calculation of difference between static or initial and gray frame we created
   differ_frame = cv2.absdiff(initialState, gray_frame)

   # the change between static or initial background and current gray frame are highlighted

   thresh_frame = cv2.threshold(differ_frame, 30, 255, cv2.THRESH_BINARY)[1]
   thresh_frame = cv2.dilate(thresh_frame, None, iterations = 2)

   # For the moving object in the frame finding the coutours
   cont,_ = cv2.findContours(thresh_frame.copy(),
                      cv2.RETR_EXTERNAL, cv2.CHAIN_APPROX_SIMPLE)

   for cur in cont:
       if cv2.contourArea(cur) < 10000:
           continue
       var_motion = 1
       (cur_x, cur_y,cur_w, cur_h) = cv2.boundingRect(cur)

       # To create a rectangle of green color around the moving object
       cv2.rectangle(cur_frame, (cur_x, cur_y), (cur_x + cur_w, cur_y + cur_h), (0, 255, 0), 3)

  # from the frame adding the motion status
   motionTrackList.append(var_motion)
   motionTrackList = motionTrackList[-2:]

   # Adding the Start time of the motion
   if motionTrackList[-1] == 1 and motionTrackList[-2] == 0:
       motionTime.append(datetime.now())

  # Adding the End time of the motion
   if motionTrackList[-1] == 0 and motionTrackList[-2] == 1:
       motionTime.append(datetime.now())

  # In the gray scale displaying the captured image
   cv2.imshow("The image captured in the Gray Frame is shown below: ", gray_frame)

   # To display the difference between inital static frame and the current frame
   cv2.imshow("Difference between the  inital static frame and the current frame: ", differ_frame)

   # To display on the frame screen the black and white images from the video
   cv2.imshow("Threshold Frame created from the PC or Laptop Webcam is: ", thresh_frame)

   # Through the colour frame displaying the contour of the object
   cv2.imshow("From the PC or Laptop webcam, this is one example of the Colour Frame:", cur_frame)

   # Creating a key to wait
   wait_key = cv2.waitKey(1)

   # With the help of the 'm' key ending the whole process of our system
   if wait_key == ord('m'):
       # adding the motion variable value to motiontime list when something is moving on the screen
       if var_motion == 1:
           motionTime.append(datetime.now())
       break
# At last we are adding the time of motion or var_motion inside the data frame
for a in range(0, len(motionTime), 2):

   dataFrame = dataFrame.append({"Initial" : time[a], "Final" : motionTime[a + 1]}, ignore_index = True)

# To record all the movements, creating a CSV file
dataFrame.to_csv("EachMovement.csv")

# Releasing the video
video.release()

# Now, Closing or destroying all the open windows with the help of openCV
cv2.destroyAllWindows()
结果
在此代码中,跟踪将在移动对象周围的矩形框的帮助下完成,类似于下图所示。这里要注意的一件有趣的事情是,该视频是一个安全摄像机镜头,已经对其进行了检测。
结论
- Python编程语言是一种开源库丰富的语言,为用户提供了许多应用程序。
- 当一个物体静止且没有速度时,它被认为是静止的,而恰恰相反,当一个物体没有完全静止时,它被认为是运动的。
- OpenCV是一个开源库,可以与许多编程语言一起使用,通过将它与Python的 Pandas/NumPy库集成,可以充分利用OpenCV的特性。
- 主要思想是每个视频只是许多静态图像(帧)的组合,用帧之间的差异检测。
感谢阅读。你还可以订阅我们的YouTube频道,观看大量大数据行业相关公开课:https://www.youtube.com/channel/UCa8NLpvi70mHVsW4J_x9OeQ;在LinkedIn上关注我们,扩展你的人际网络!https://www.linkedin.com/company/dataapplab/
Vaishnavi Amira Yada是一位技术内容作家,精通Python、Java、DSA、C等。
原文作者:Vaishnavi Amira Yada
翻译作者:明慧
美工编辑:过儿
校对审稿:Miya
原文链接:https://www.kdnuggets.com/2022/08/perform-motion-detection-Python.html


